
Many of the most common photography mistakes have to do with lighting - from shooting in flat, uninspiring light and then wondering why your image looks a bit ‘meh’ to blown out skies and harsh light hitting all the wrong spots when you’re shooting portraits.
Let’s look at how you can step up your photography skills into something extraordinary just by understanding and mastering lighting.
Intro to lighting
When we talk about light, we often refer to it as soft light or hard light based on the strength or brightness of the light and how diffused or directional it is.
Soft light is more evenly diffused or spread out - it tends to put a smooth glow everywhere, without any obvious or dramatic shadows. We get this naturally early in the mornings or late in the afternoons, or when it’s a bit cloudy outside. On the other hand, harsh light is more like the sun on a bright clear day - it casts sharp shadows, and there is a clear distinction between where the sun stops and the shadow begins.
Light also has a temperature. It can be warm or cool, depending on the light source. You know that gorgeous sunset glow? That’s the temperature of the light, and it can significantly influence the feeling of your image and any subject that it’s lighting up. The color of the light also depends on what else is in the environment. If you’re shooting a photo next to a big swimming pool there might be a blue cast on the light, and if you’re standing in a garden, you might have a green cast.
There’s no limit on how advanced and technical you can get when it comes to lighting. I’ve done courses that spend hours on the science of lighting, looking at things like the mechanics of light - looking at angles and diffusion, Rembrandt lighting, artificial lighting setups etc. It’s a bit of a minefield to be honest, but for now, let’s focus on the basics that will make a huge impact on your photography.
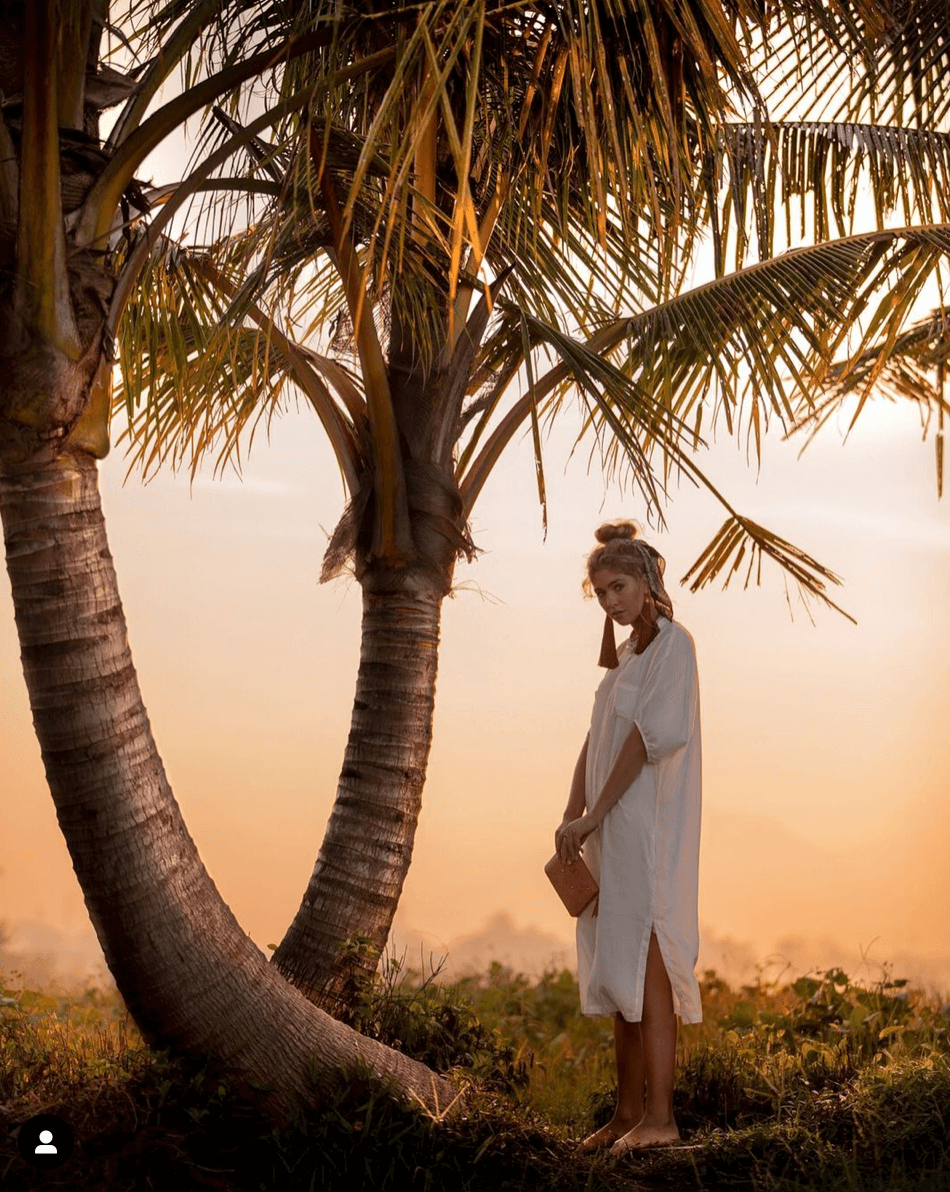
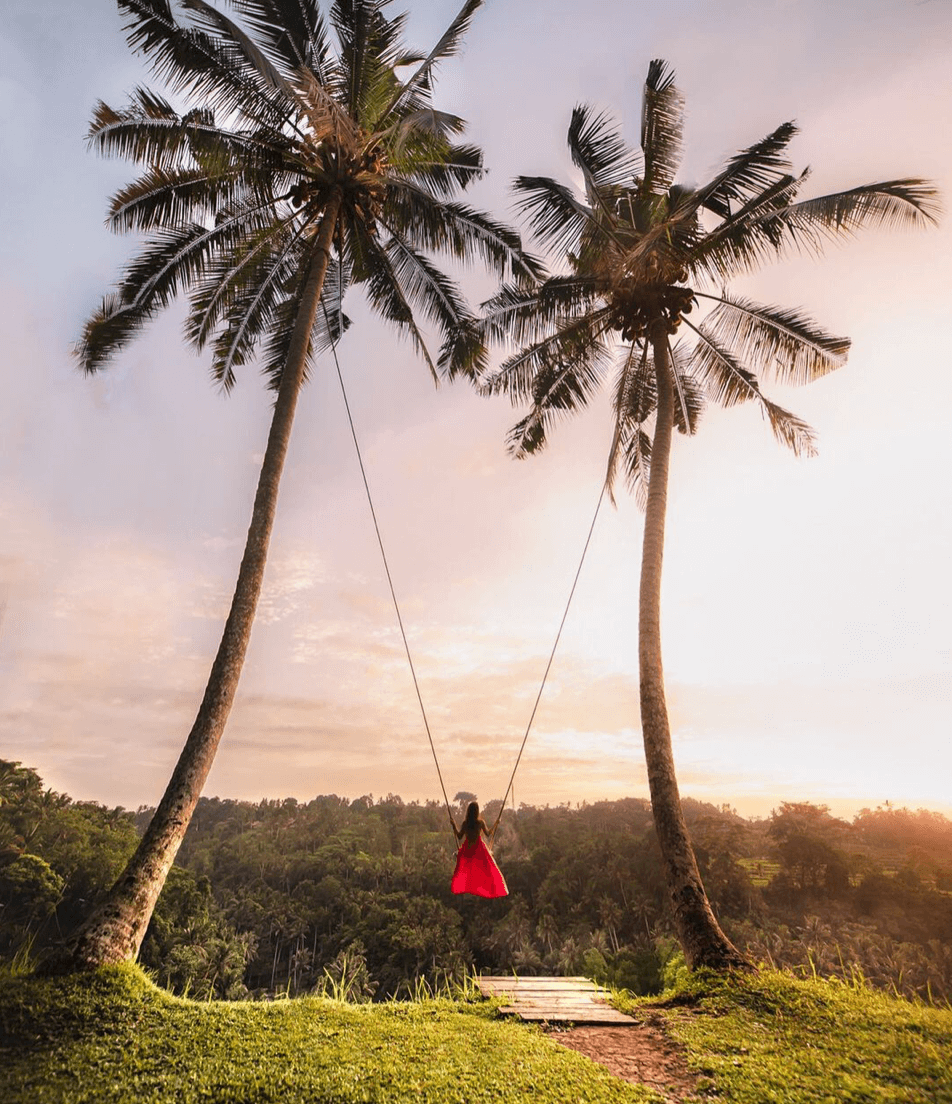
Soft light & golden hour
So many photographers live their lives by sunrise and sunset and specifically by a period that we call ‘golden hour’. Golden hour is the hour after sunrise and the hour before sunset where you generally get a warm and soft glow across the sky. It’s incredibly flattering for both portraits and landscapes, it’s easy to work with, and yes, it’s actually worth getting out of bed for at an ungodly hour, when you would much rather be sleeping.
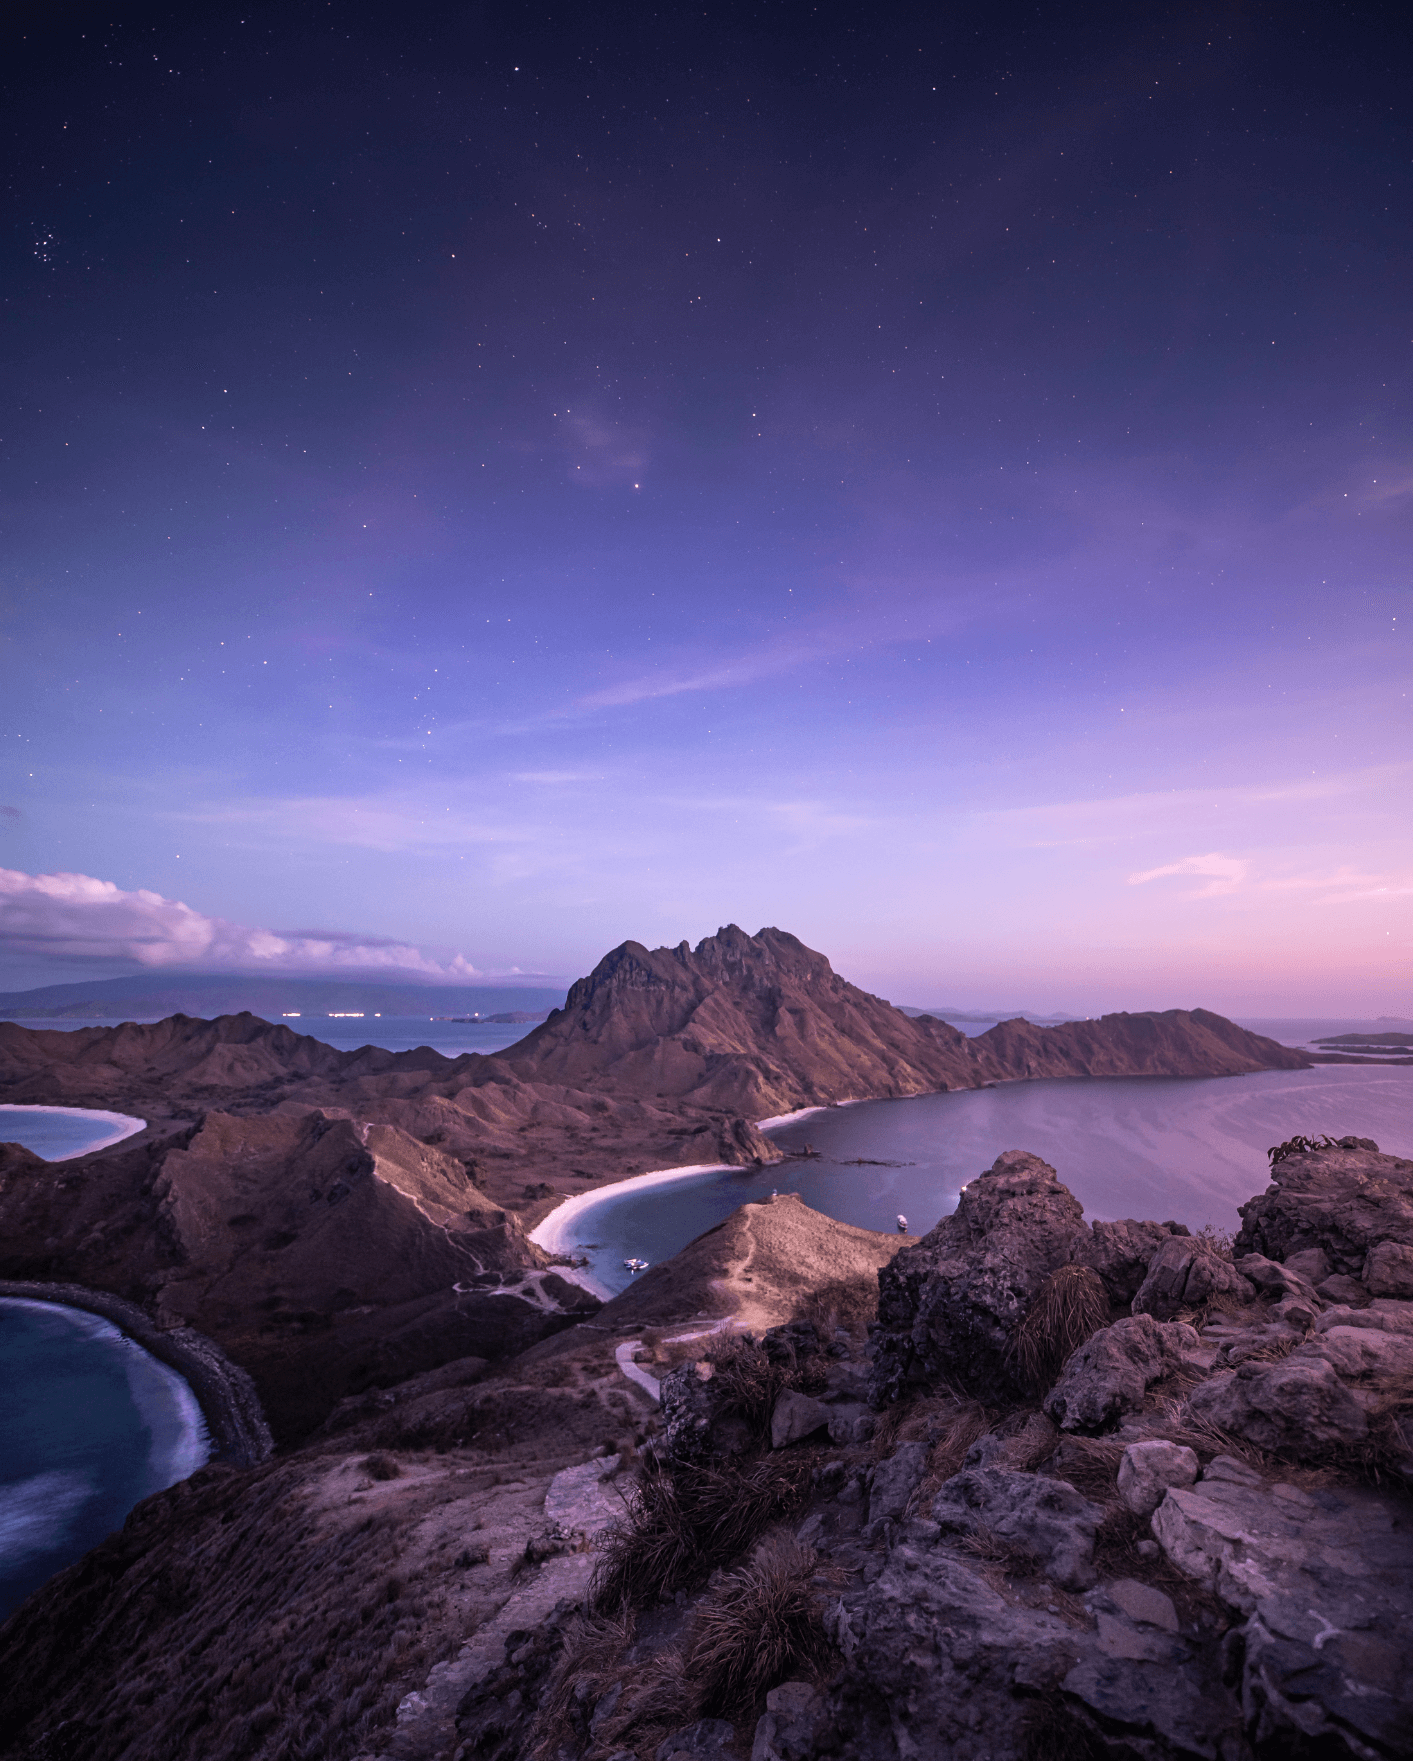
Before sunrise and after sunset, we have ‘blue hour’, which gets its name from the cool tones you get when the sun hasn’t risen, but it’s no longer dark outside. The blue hour can make for some really moody shots with cooler temperatures and saturated colors, so it’s also popular for landscapes. If you’re shooting in a city, this is also a time when it’s bright enough to shoot but street lights and car lights are still on, which can make for some cool effects.
One of the best things about soft light is that there are no harsh shadows, the light just blurs softly together, allowing our shot to have a bit of a magical feeling. It’s great for skin tones and tends to smooth wrinkles and make our subjects look a bit younger.
Another advantage of the golden hour is that you tend to capture everything in frame. Nothing is totally blown out or too dark, which can often happen when trying to shoot in the middle of the day. It’s easy to shoot in soft light, even with really basic entry-level gear (we’ll talk more about why later), and it’s generally just going to make your life easier.
Working with hard light
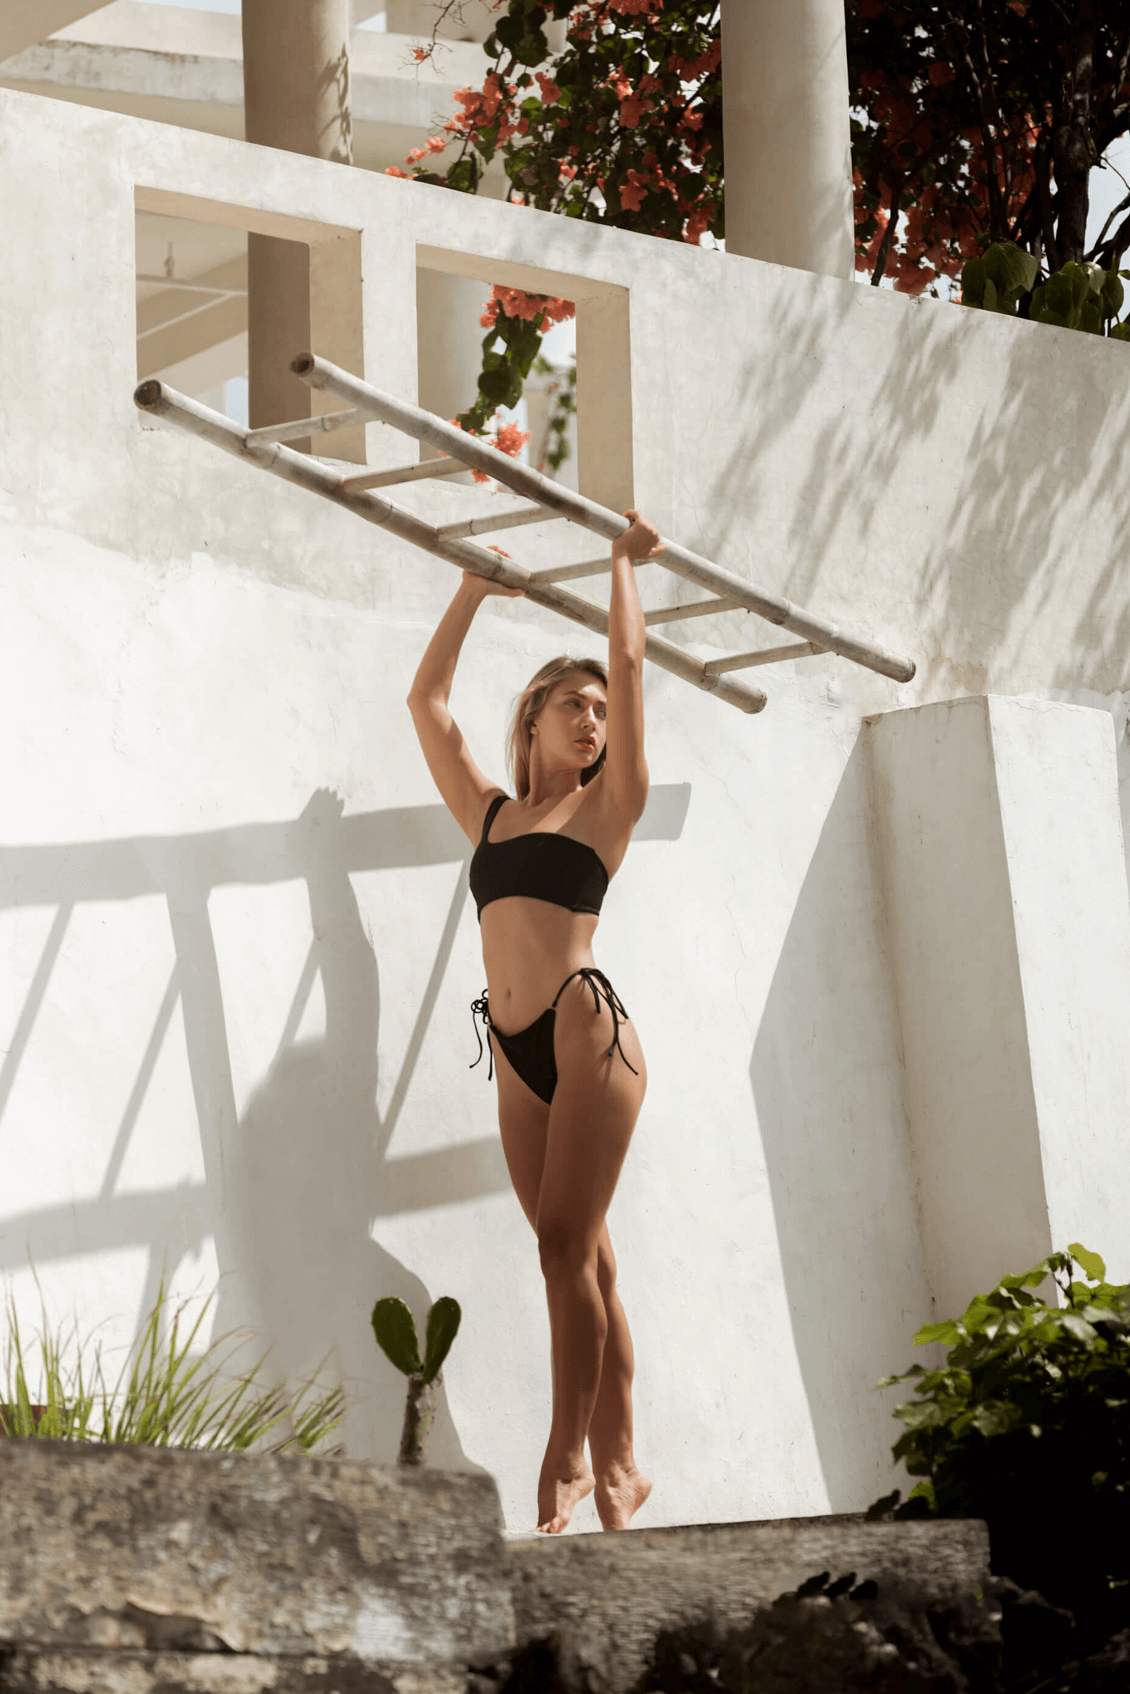
After learning all of the advantages of soft light, you might think that it would just be a rookie mistake to shoot in harsh direct sunlight. But you would be wrong because in photography, there is a place for everything. The important part is to understand how to work with harsher lighting conditions. Hard light isn’t inherently bad, in fact, you can get some incredible results with more strong, directional lighting if you know what you’re doing. It can be great for product photography, food photography, playing with shadows, and dramatic portraits.
When you’re working with hard light, you need to think about the direction of the light and the shadows it’s going to create. When the sun is reasonably low in the sky, you get long shadows, and the source of light is coming in from the side. When you shoot in the mid-day, the light is coming from right above, and if you don’t know what you’re doing can end up with some unflattering shadows, like “raccoon eyes” where your eyebrows cast a shadow, giving you dark circles under their eyes.
For now, the most important takeaway is to be intentional about the lighting you work with - do you want bright light and dramatic shadows, or would you prefer a soft, even glow? From there, you can choose your timing appropriately.
Like what we had to say about lighting? This is just the tip of the iceberg - we uncover a lot more photography secrets and teach you how to make a living from it in our Digital Photography and Social Media Bootcamp. Click here to learn more.